Scar formation is a natural occurrence after surgery as scars help to strengthen the tissues that are healing. However, too much of a good thing may not actually be beneficial. Scars can become bothersome and limit movement.
Your body has an amazing ability to assist in healing by laying down collagen fibers that make up the substance of a scar. Research shows that scar formation can last up to 1 year after surgery. At first, the fibers are laid down randomly. This causes the scar to become thick and firm. If left this way, the scar becomes very rigid and acts like glue. The scar may stick to muscles, tendons, and even bones. When this happens, you may notice that it is difficult to move the joints near the surgical area. It may also become uncomfortable and painful to put pressure directly on your scar. You may also experience sensitivity to different textures.
Luckily, we have the ability to manipulate scar tissue to decrease the effects of scar adhesion. Although we can’t change the amount of scar tissue our body creates, we can impact the flexibility of the scar. Imagine you had a lump of bread dough on your kitchen counter. This is what your scar is like in the early stages of formation. If you knead the dough or use a rolling pin, you can soften it and thin it out. Likewise, several techniques may be used on your scar as soon as the incision is healed.
How to reduce scar formation
- Scar Massage: Apply a small amount of lotion or Vitamin E oil to the scar. Using firm pressure with your thumb or fingers, massage the scar in a circular motion. Next move your thumb across the width and length of the scar. This should not be painful, but may be slightly uncomfortable at first.
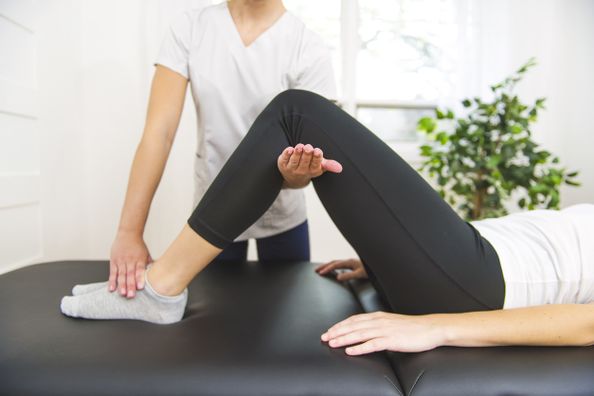
- Active Motion: Simply bending and extending the joints closest to your scar will assist in minimizing scar adhesion.
- Retraction: Place your thumb or fingers at the end of your scar. Move the body part in the opposite direction, as you place constant pressure. For example, if the scar is in your palm, place thumb and end of scar closest to your fingers, then bend your wrist backwards.
- Skin Rolling: Start at one end of the scar and pinch the skin between your thumb, index and middle fingers. Now roll the skin back and forth.
- Scar Activities: Consider massaging your scar in the following ways:
- Roll your scar on a golf ball and/or marker with mild to moderate pressure
- Rub scar with a marble.
- Use an electrical massager on/around the scar
- Silicone Scar Pad: Use of 100% silicone gel has been shown to reduce redness and improve the texture of the scar by forming a seal to keep moisture in, promoting greater flexibility. Gel sheets are available at most drug stores. Liquid silicone gel is also effective.
- Scar Sensitivity: If your scar is hypersensitive, gently rub different textures on your scar daily for 2 minutes each. Begin with soft textures (cotton, silk) and progress to rough textures (denim, Velcro, towels). You can also desensitize your scar by immersing the scar in a container of dried rice or pinto beans. Rotate the body part while immersed in the material.
- Sun Sensitivity: Apply sunscreen over your scar to minimize color changes. Your scar is more sensitive to sunlight and may turn a deep purple color without protection. Sunscreen should be applied to the scar for approximately 2 years to reduce the likelihood of discoloration.
If you continue to have issues following surgery, contact your physician to discuss treatment options. You may be referred to the Occupational or Physical Therapy department for an evaluation and treatment to restore the quality of your daily activities. Manual massage and other exercises may be just what you need to regain your range of motion and reduce discomfort at your surgical site.
Health Topics:


